 The Teacher's Corner
Tissue Paper Flower
Use the step-by-step directions below to easily create beautiful tissue paper flowers. This are a great art project for other holidays too! Click on the thumbnails to enlarge the photograph.
STEP ONE
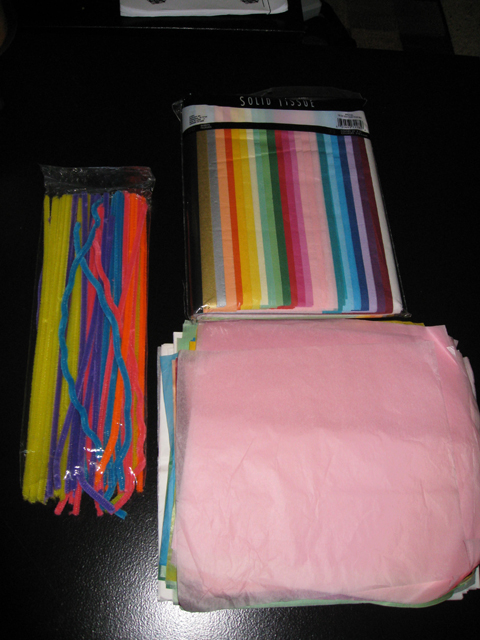
Materials for each flower:
1 pipe cleaner
4-10 cut pieces of tissue paper (the amount & size of the paper is dependent upon how large you want your flower) In the photos I used 8 pieces that were cut approximately 10" x 10")
You can great a great pack of various colors @ Wal-Mart for $7.
STEP TWO
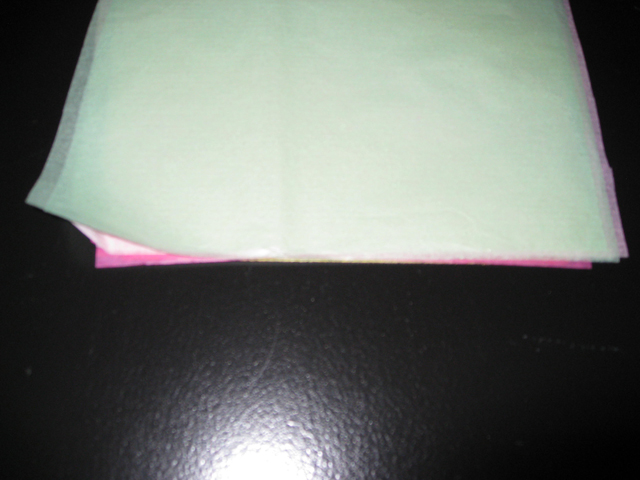
After selecting the number of pieces of tissue paper you want to use, line up all pieces at one end.
STEP THREE
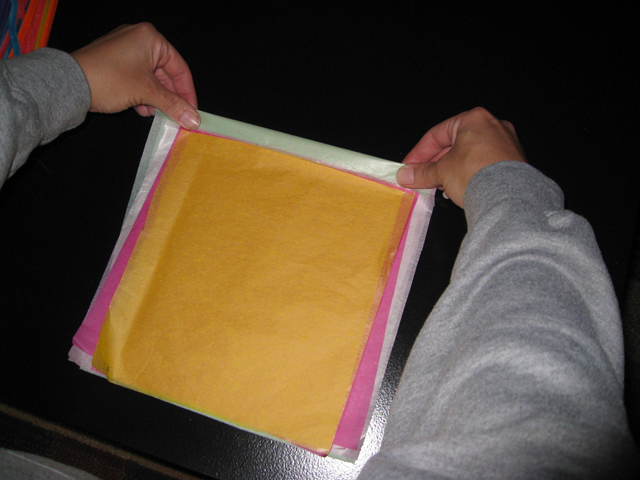
Begin folding the paper, alternating directions, like a fan.
STEP FOUR
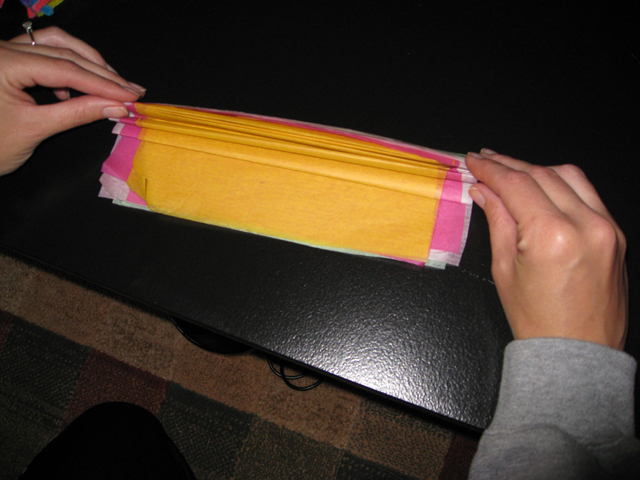
For best results, make small, uniformed-sized folds.
STEP FIVE
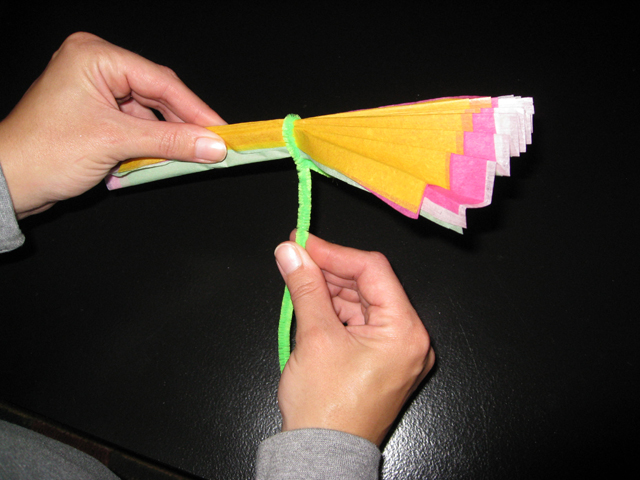
After you are done folding, find the center of your paper and attach the pipe cleaner to the paper. (The flat side of the paper should be touching your thumb, with the folds facing up.)
STEP SIX
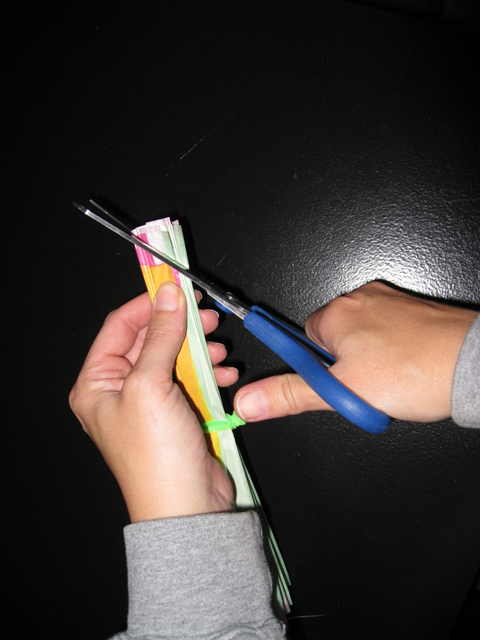
Using a pair of scissors, cut off a small amount off each end. You can either cut it to a point or rounded end. (The flower here is cut to a point.)
STEP SEVEN
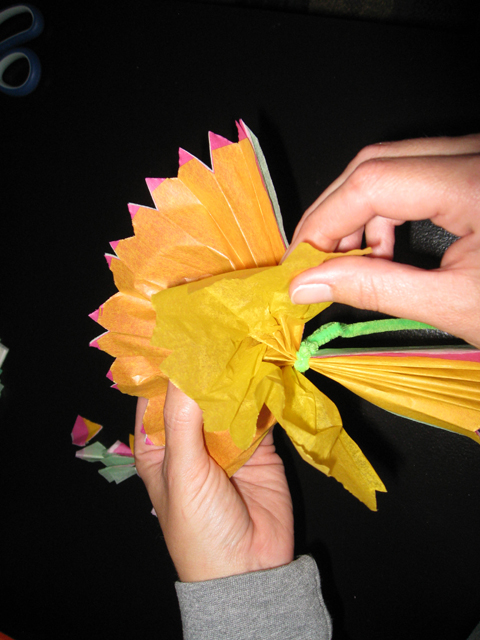
You are now ready to begin pulling each individual paper layer towards the center of your flower.
STEP EIGHT
Be sure to do this very slowly and carefully because the tissue paper can easily rip.
STEP NINE
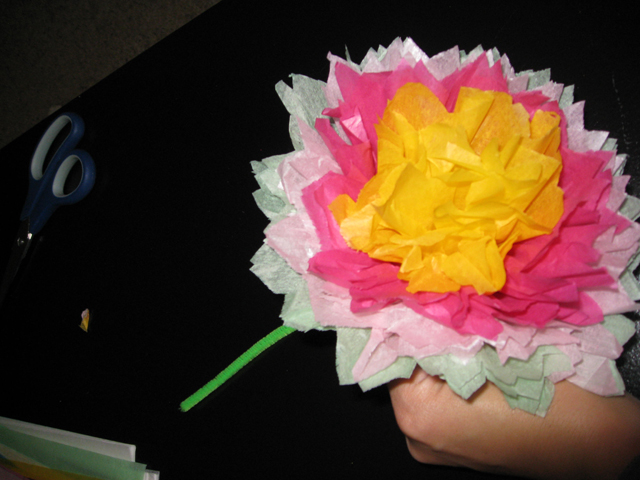
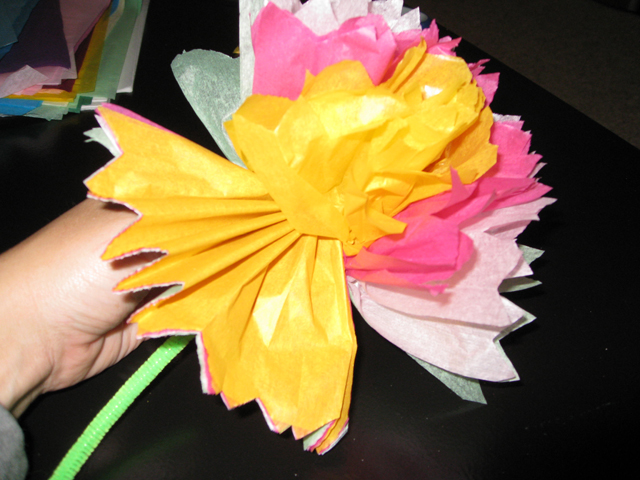
Your flower is now done! You will want to do a little fine-tuning, moving the paper to make it look like a continuous line around the flower.
Submitted by: Jennifer - The Teacher's Corner